PAGE 1 — Protection of Cabinets, Floors & Furniture
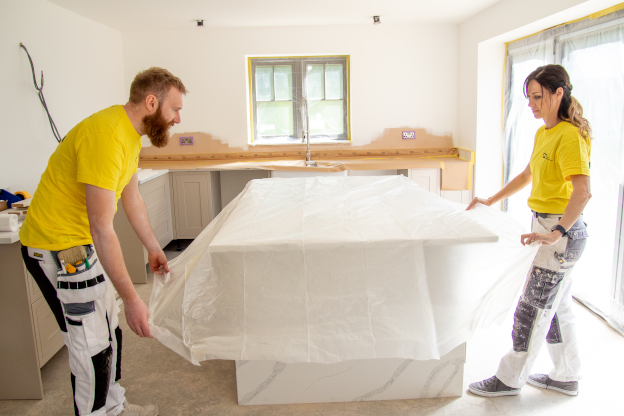
Headline: Protection Is the First Service We Provide
Before a single tool touches your walls, we protect your home completely. This is not optional — it is our standard.
Step 1: Room Preparation
-
Small decor, electronics, and fragile items are carefully relocated.
-
Larger furniture is moved to the center of the room when possible.
-
Walkways are established to maintain safe access.
Step 2: Floor Protection
-
Floors are vacuumed to ensure tape adhesion.
-
Canvas drop cloths are laid first for stability.
-
Plastic sheeting is added in high-splatter areas.
-
Seams are taped securely to eliminate gaps.
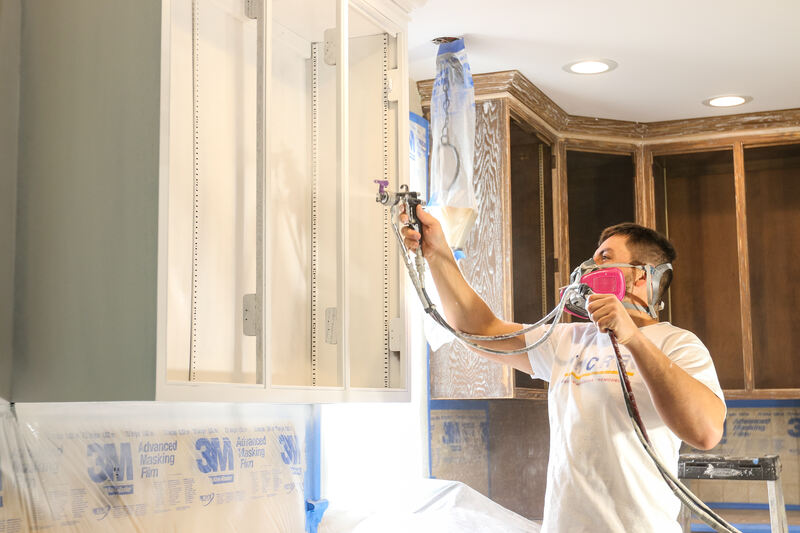
Step 3: Cabinet & Surface Masking
-
Countertops are wiped clean before taping.
-
Painter’s tape is applied along all edges.
-
Plastic is hung tightly to fully drape cabinet faces.
-
Hardware areas are masked to prevent overspray or splatter.
Step 4: Containment
-
Doorways may be sealed with plastic if heavy sanding is required.
-
Vents and registers are protected if necessary.
Why this matters:
Protection prevents damage, reduces cleanup time, and eliminates stress for homeowners.


PAGE 2 — Starting the Project Professionally
Headline: A Controlled Start Sets the Tone
We don’t rush into painting. We start with structure and clarity.
Step 1: Scope Confirmation
-
Confirm color selections and finishes.
-
Review included and excluded areas.
-
Clarify expectations.
Step 2: Surface Evaluation
-
Identify cracks, peeling areas, water damage, and loose tape.
-
Mark repair areas clearly.
Step 3: Project Planning
-
Determine sequence: ceilings → walls → trim.
-
Establish dry times between coats.
-
Confirm daily working hours.
This eliminates confusion and ensures predictable progress.


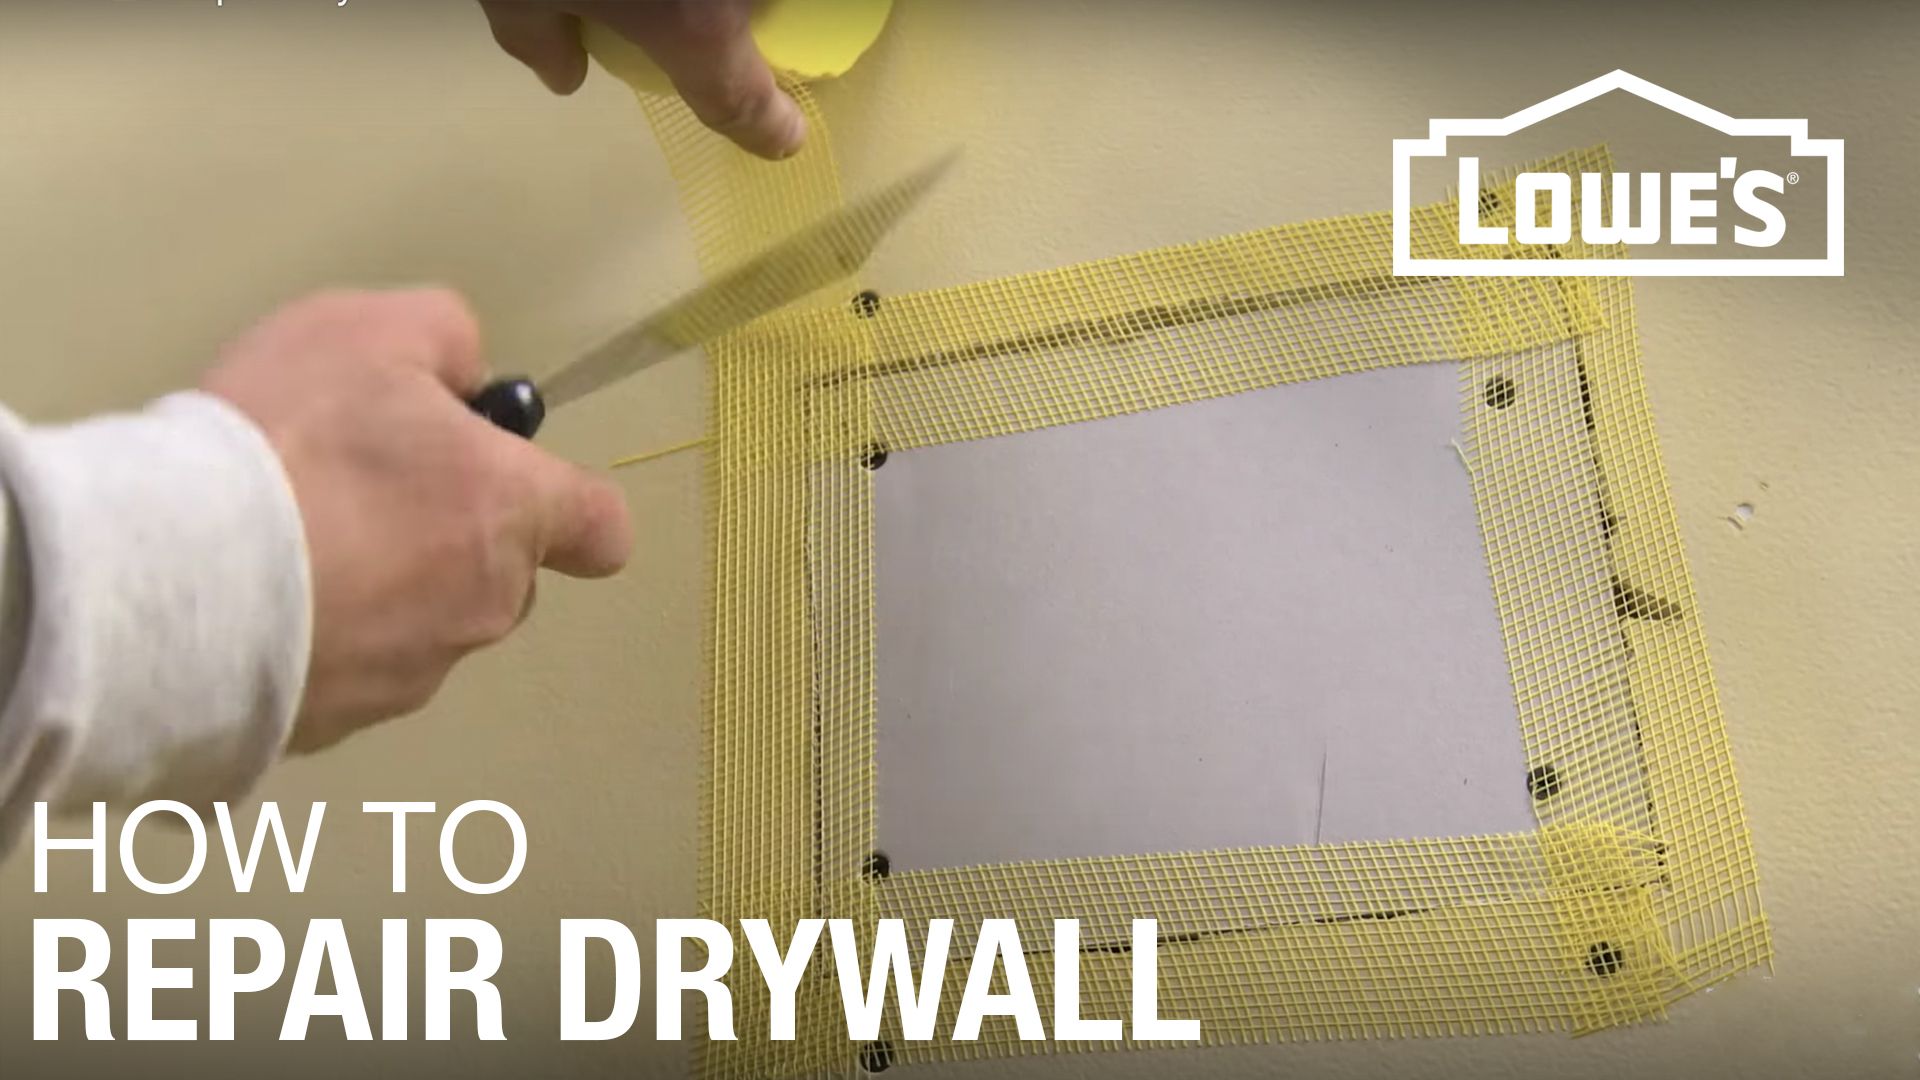
PAGE 3 — Surface Repairs Before Paint
Headline: Paint Is Only as Good as the Surface Beneath It
A beautiful finish begins with correction.
Repair Process Includes:
-
Scraping loose or failing paint.
-
Removing deteriorated caulk.
-
Repairing drywall cracks with proper tape and compound.
-
Patching holes using layered compound application.
-
Addressing minor water-damaged areas.
-
Feathering edges to blend seamlessly.
We do not paint over problems — we fix them properly.


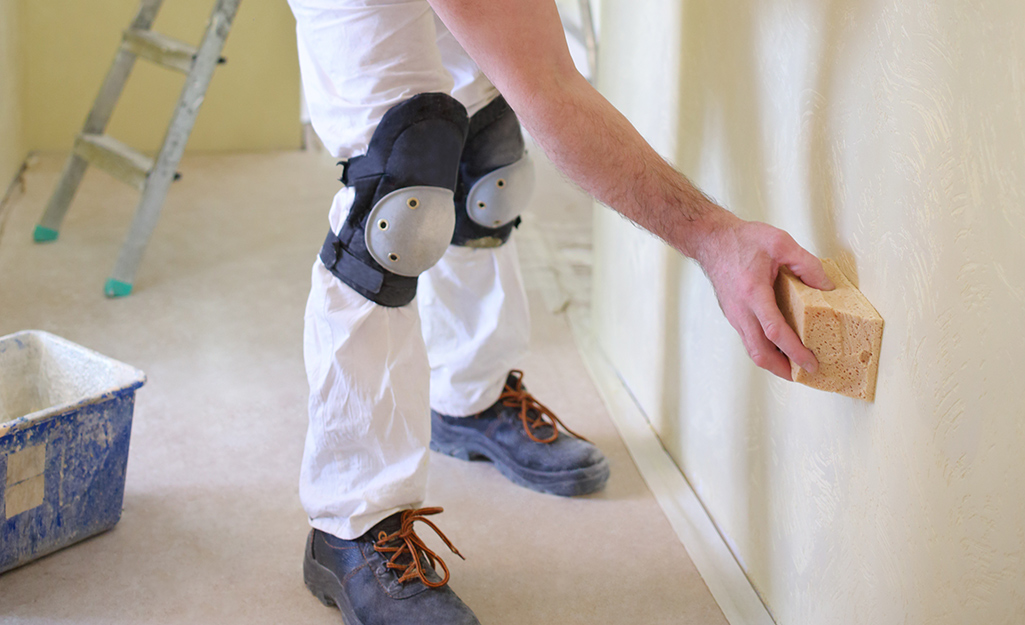
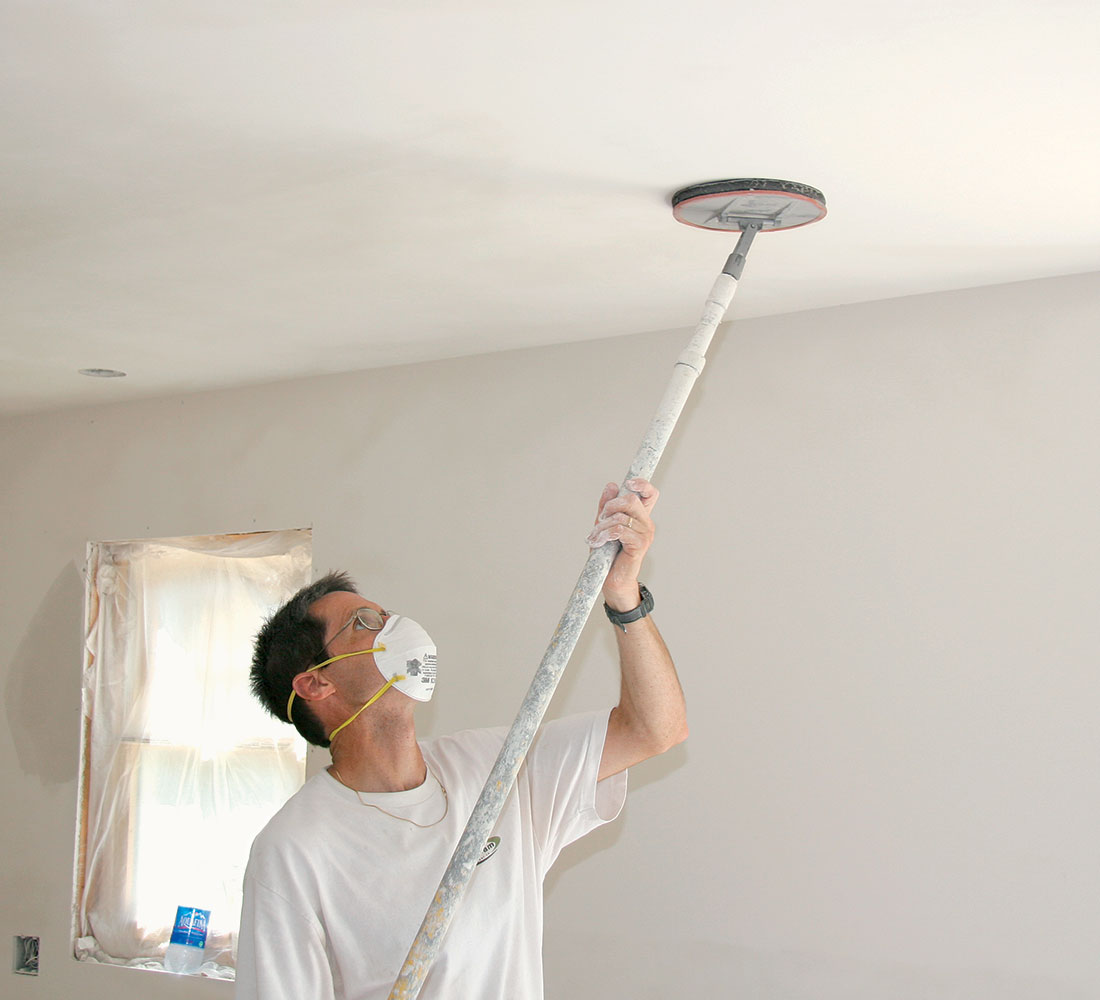
PAGE 4 — Sanding & Surface Preparation
Headline: Smoothness Is Earned, Not Assumed
After repairs dry, we refine every surface.
Preparation Includes:
-
Sanding patched areas to eliminate ridges.
-
Using pole sanders for even ceiling work.
-
Controlling dust through vacuuming and wipe-downs.
-
Checking walls with angled lighting to reveal imperfections.
-
Removing sanding residue before primer.
Preparation is invisible when done correctly — but obvious when skipped.

PAGE 5 — Priming for Durability
Headline: Primer Builds Longevity
Primer is not optional when quality matters.
We apply:
-
Spot primer to repaired areas.
-
Stain-blocking primer over water marks.
-
Bonding primer on glossy surfaces.
-
Full primer coats when necessary for color change.
This ensures:
-
Proper adhesion.
-
Even color tone.
-
Long-lasting performance.


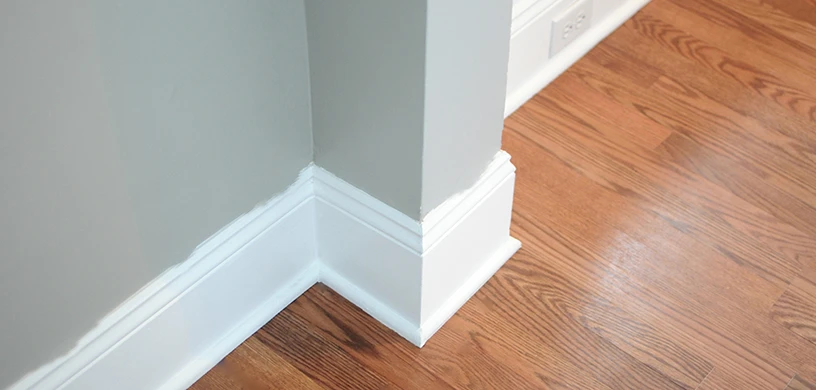
PAGE 6 — Precision Cutting & Edges
Headline: Clean Lines Define Professional Work
We carefully cut in around:
-
Ceiling lines
-
Windows
-
Doors
-
Baseboards
We maintain wet edges and remove tape at the correct curing stage to prevent peeling.
This is where craftsmanship becomes visible.


PAGE 7 — Wall Application
Headline: Even Coverage, No Roller Marks
Walls are applied using controlled roller techniques:
-
Proper loading of roller.
-
“W” pattern spread.
-
Back-rolling for consistency.
-
Two coats minimum when required.
We inspect under proper lighting to ensure uniform sheen.


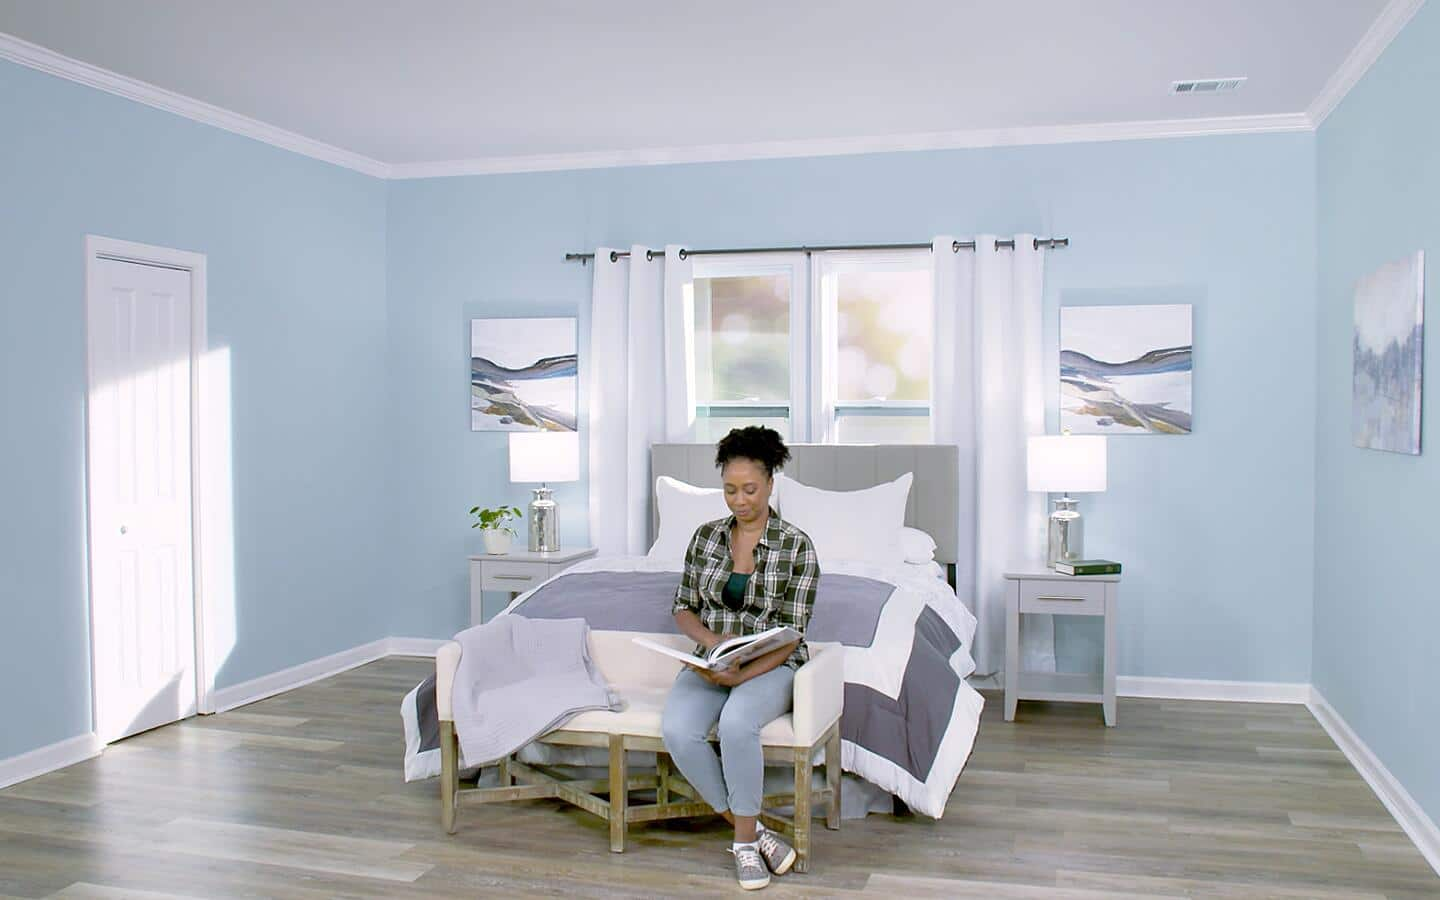
PAGE 8 — Ceiling Application
Headline: A Clean Ceiling Elevates the Room
Ceilings receive:
-
Proper cut-in.
-
Even pressure rolling.
-
Attention to flashing or uneven areas.
-
Additional coat when necessary.
Ceilings dramatically affect light reflection — we treat them carefully.

PAGE 9 — Trim, Doors & Cabinets
Headline: Details Create the Finished Look
Trim and doors receive:
-
Surface cleaning.
-
Light sanding.
-
Caulking where appropriate.
-
Smooth brush/mini-roller application.
-
Controlled coat thickness to prevent drips.
Fine detail work separates average from exceptional.


PAGE 10 — Daily Cleanup & Jobsite Order
Headline: Clean Work Reflects Professional Discipline
Each day ends with:
-
Tools consolidated neatly.
-
Debris removed.
-
Floors checked.
-
Walkways cleared.
A controlled jobsite reduces stress and builds confidence.

:max_bytes(150000):strip_icc()/SPR-how-to-organize-art-supplies-6747955-HERO-da2e2d3620794e5c879b46093f7f3a06.jpg)
PAGE 11 — Communication & Professional Standards
Headline: Transparency Builds Trust
We provide:
-
Written estimates.
-
Clear timelines.
-
Progress updates.
-
Change order documentation if needed.
-
Defined payment schedule.
You always know what is happening and why.


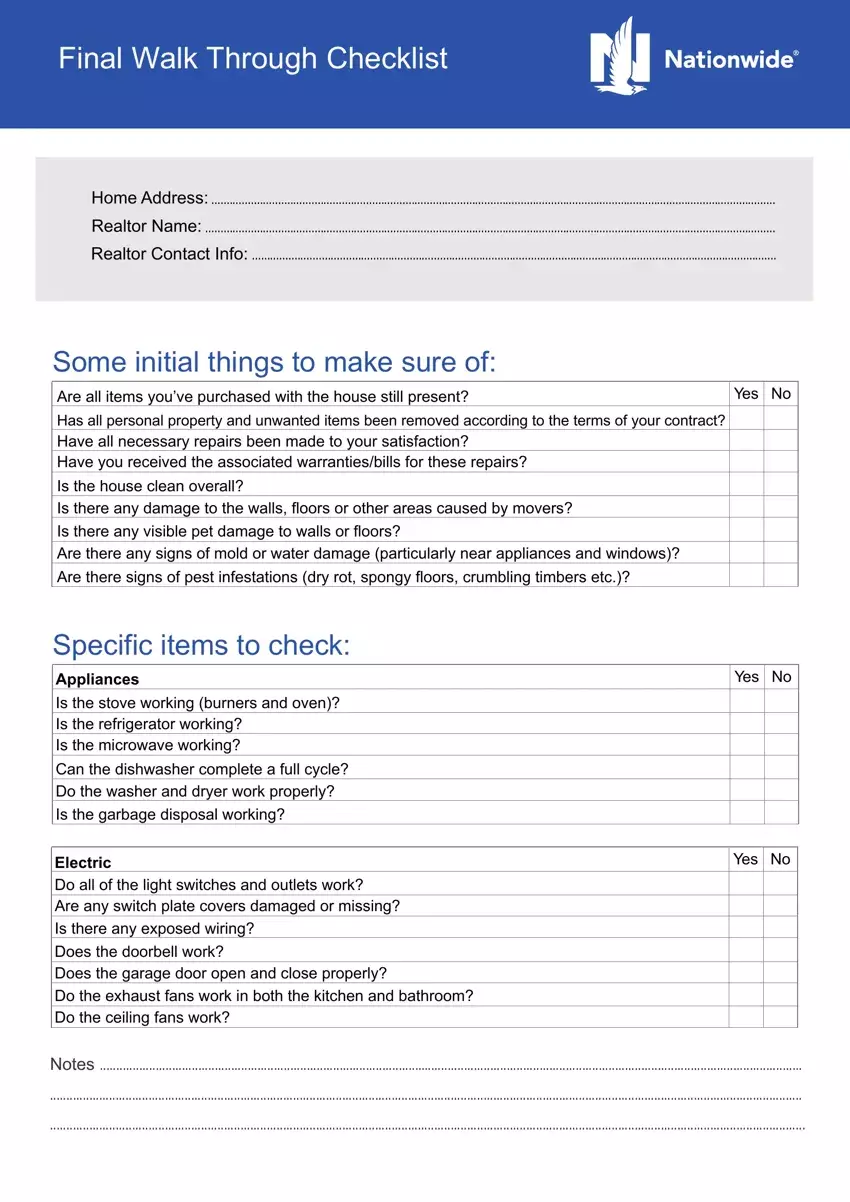
PAGE 12 — Final Walkthrough & Satisfaction
Headline: Finished Right — And Left Clean
Completion includes:
-
Removal of all protection.
-
Detailed touch-up inspection.
-
Final cleaning.
-
Client walkthrough.
-
Review request and warranty explanation.
Our goal is not just a painted room — it’s complete satisfaction.