7&7 Contractor LLC
New Drywall Installation Process Guide
From Framing to Final Paint-Ready Finish
PAGE 1 – Cover
Professional Drywall Installation Done Right


Introduction
New drywall installation is the foundation of a clean, modern interior.
When installed incorrectly, problems appear quickly: cracks, uneven seams, nail pops, and visible joints.
At 7&7 Contractor LLC, we follow a controlled, professional process from preparation to final finish — ensuring durability, smoothness, and long-term performance.
PAGE 2 – Project Evaluation & Preparation
Assessing Structure Before Installation

Before drywall panels are installed, we inspect:
-
Stud alignment and spacing
-
Ceiling joist condition
-
Framing stability
-
Moisture exposure areas
-
Electrical and plumbing positioning
We confirm:
-
Panel thickness required (½”, ⅝”, moisture-resistant)
-
Fire rating requirements (if applicable)
-
Sound control considerations
A strong structure ensures a strong finish.
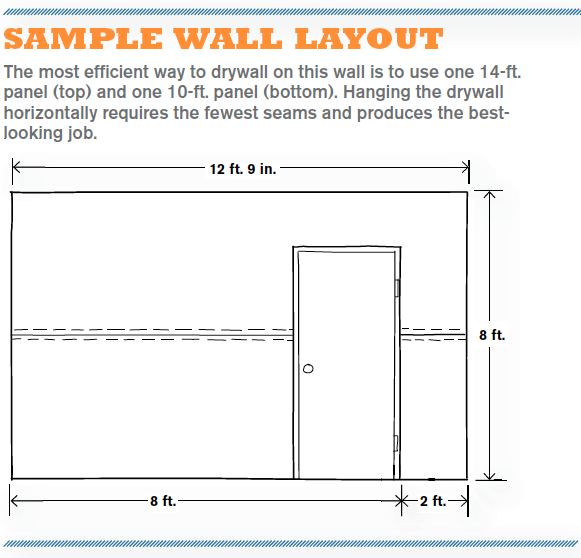
PAGE 3 – Material Selection & Layout Planning
Choosing the Right Drywall System

:max_bytes(150000):strip_icc()/SPR-what-is-greenboard-drywall-1822831-hero_53588-7d1527ccfa43427f9d30b79685f95823.jpg)

Not all drywall is the same.
We select based on:
-
Standard gypsum board for living areas
-
Moisture-resistant board for bathrooms
-
Fire-rated board for garages or code-required areas
We plan panel layout to:
-
Reduce seams
-
Stagger joints
-
Minimize weak points
Proper layout prevents future cracking.
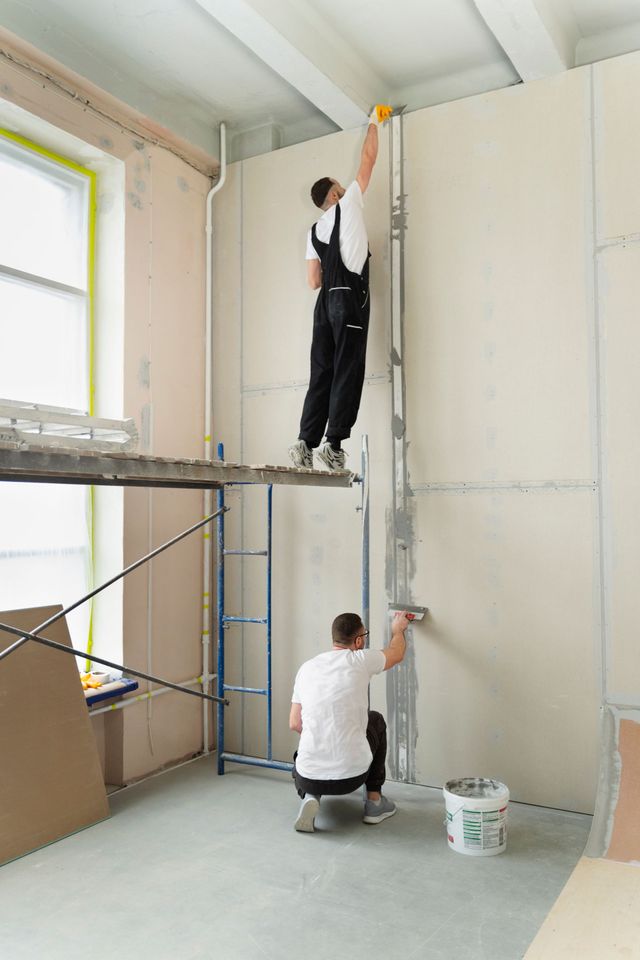
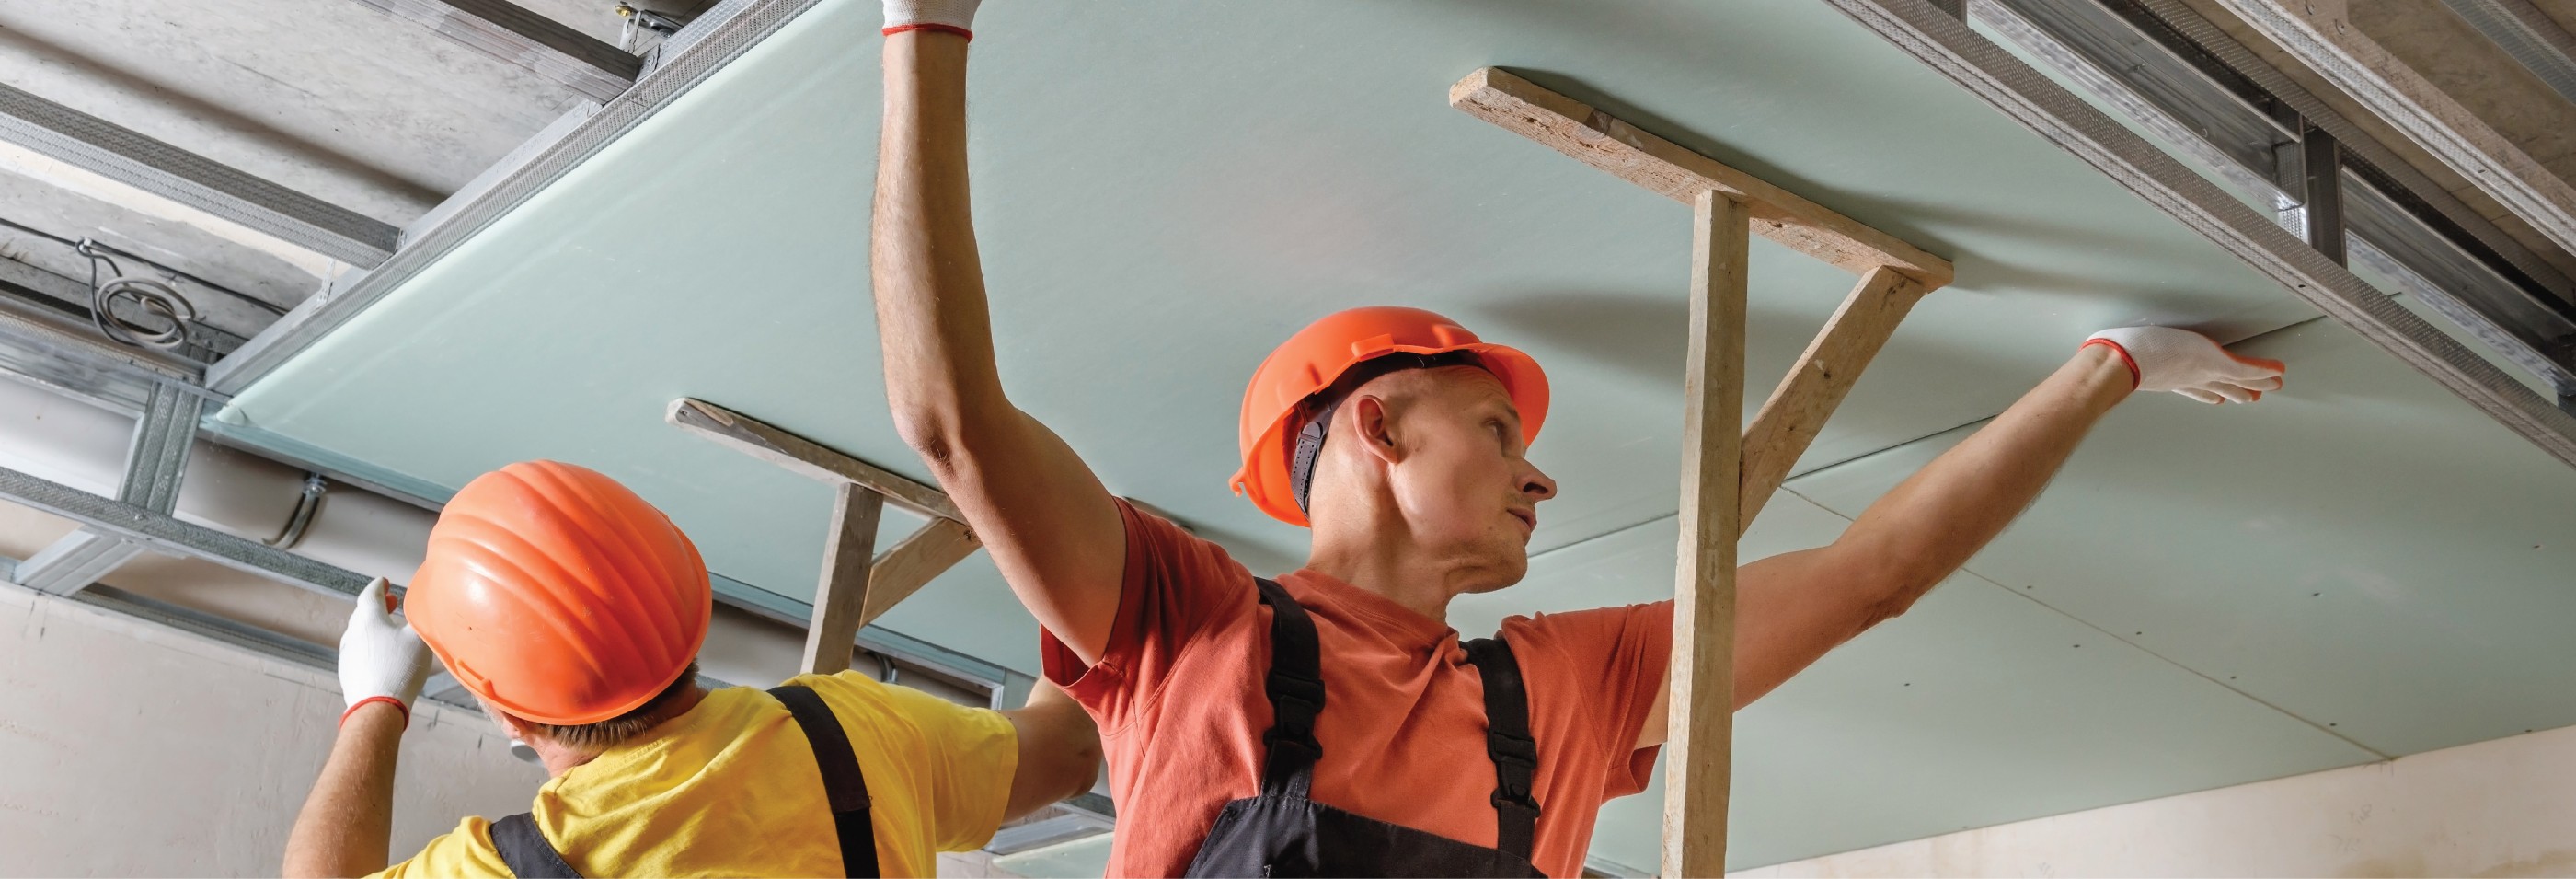
PAGE 4 – Drywall Installation
Secure & Level Mounting


Panels are installed carefully:
-
Screwed (not overdriven)
-
Proper spacing between fasteners
-
Panels tightly fitted to framing
-
Ceiling panels installed first when applicable
We avoid:
-
Loose seams
-
Over-screwing
-
Gaps that cause movement
Correct fastening prevents nail pops and cracks.
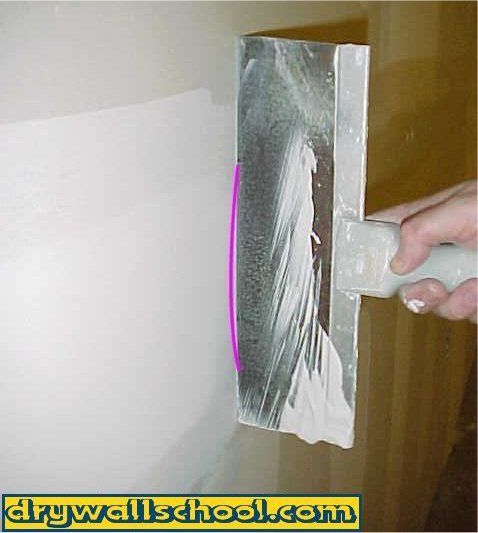
PAGE 5 – Taping & First Coat of Compound
Building the Foundation of Smooth Walls


All seams are reinforced with tape:
-
Paper or mesh tape applied properly
-
First coat of joint compound embedded evenly
-
Corners carefully reinforced
This step prevents joint separation over time.
PAGE 6 – Second & Third Coat Finishing
Creating Seamless Surfaces

Multiple coats are applied:
-
Wider feathering on each layer
-
Thin applications to avoid shrinkage
-
Full drying between coats
We gradually widen seams to blend invisibly into the wall surface.
This is where professional craftsmanship becomes visible.
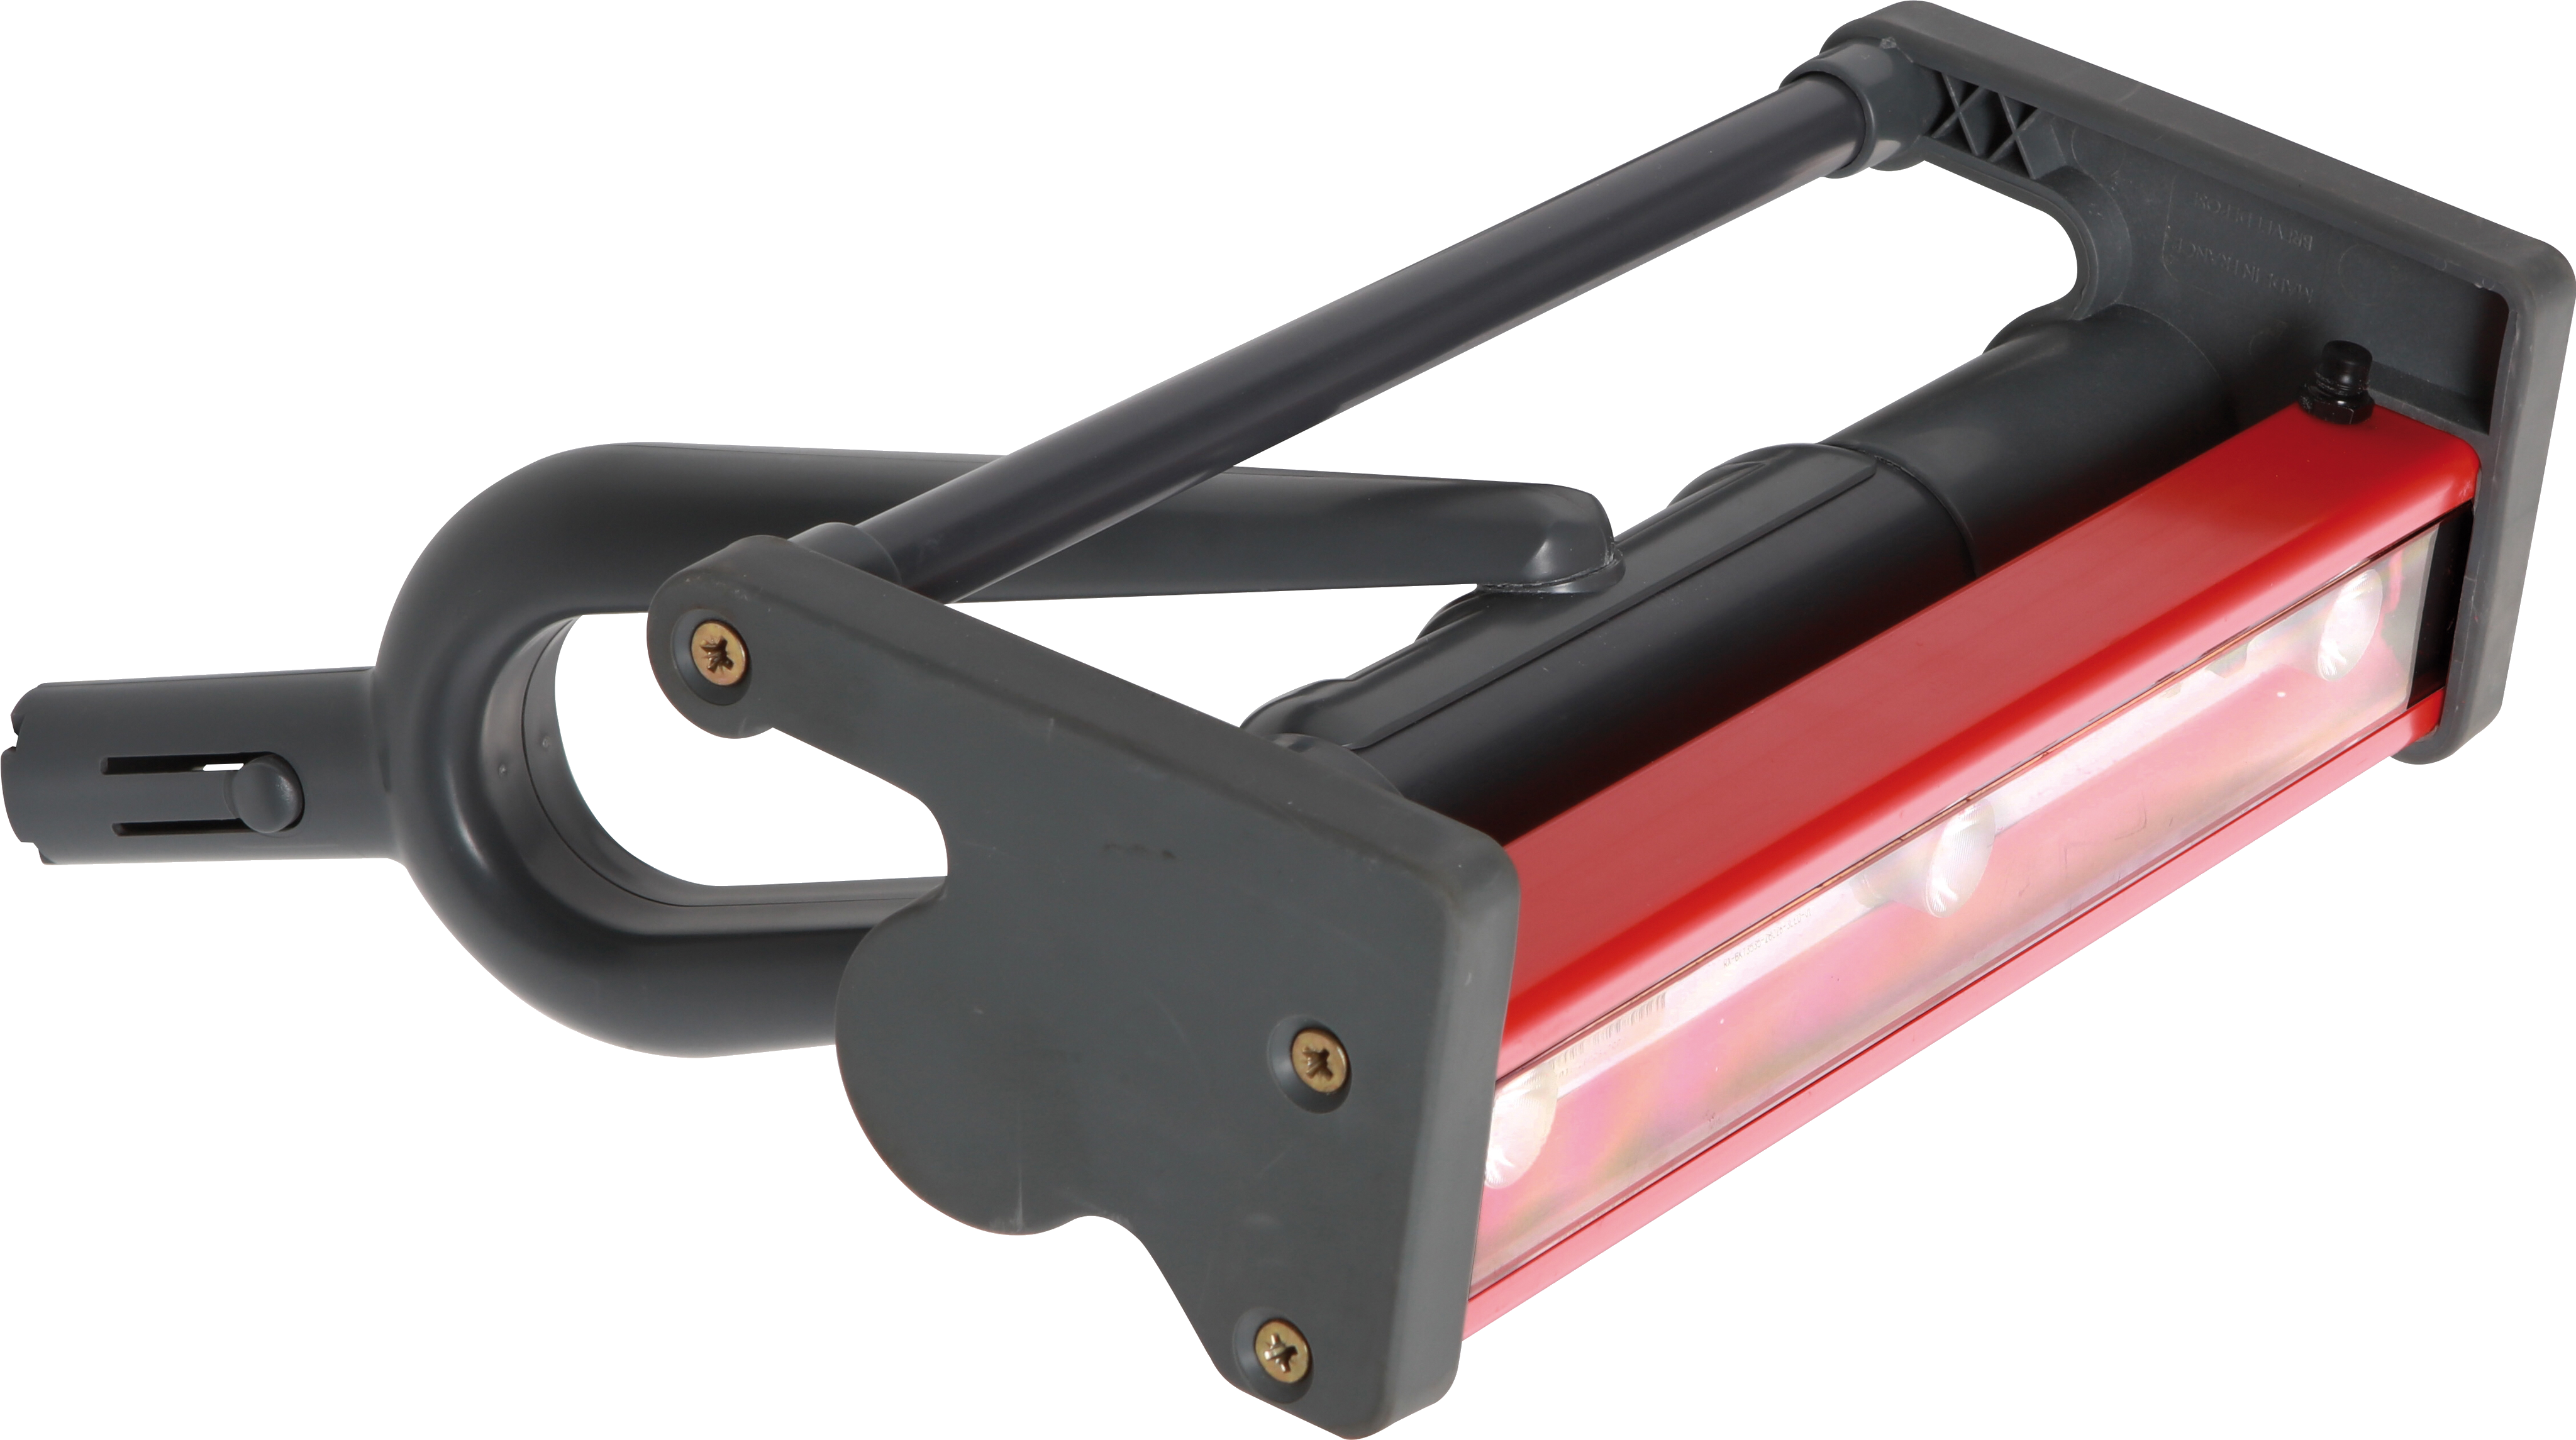
PAGE 7 – Sanding & Surface Perfection
Smoothness Before Paint
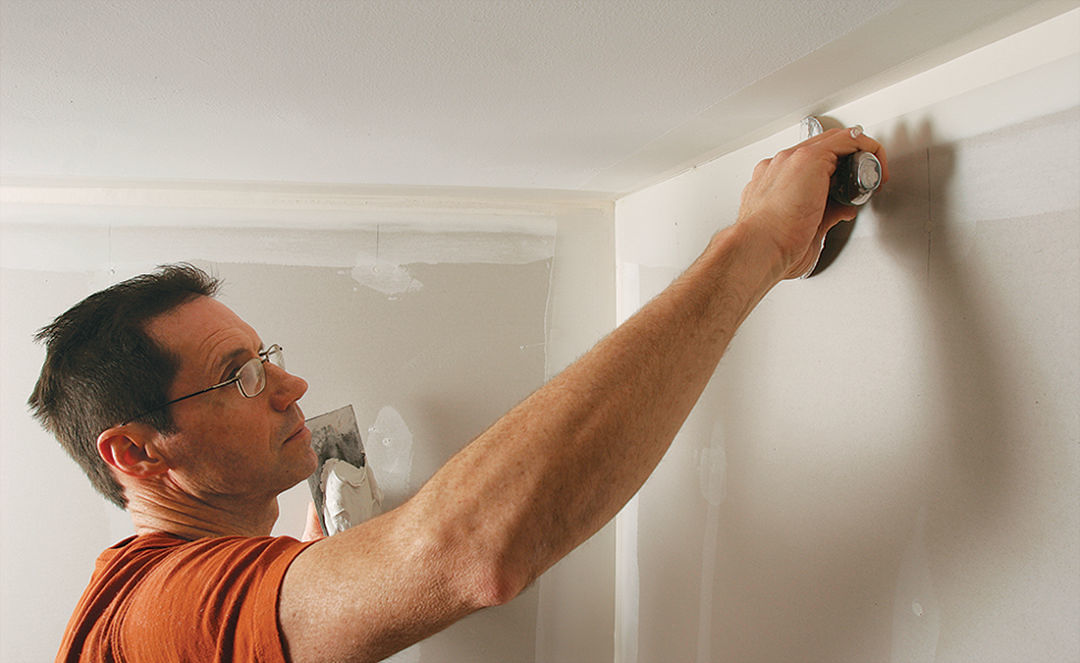
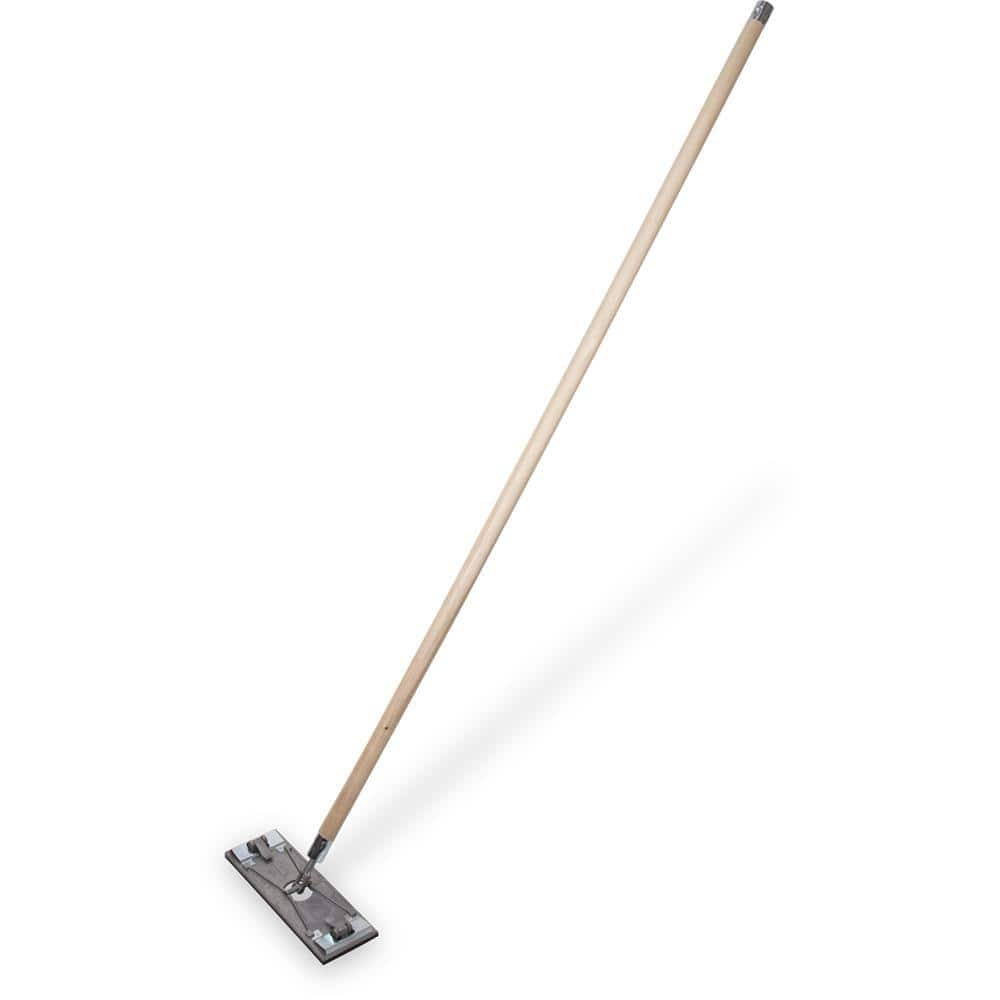
After full drying:
-
Seams are sanded smooth
-
Edges blended carefully
-
Imperfections checked under side lighting
Dust is controlled and removed before priming.
Skipping proper sanding leads to visible lines after painting.
PAGE 8 – Texture (If Required)
Matching Existing Surfaces


If texture is required:
-
We match existing pattern (knockdown, orange peel, etc.)
-
Texture is applied evenly
-
Dry time respected before priming
Consistency ensures seamless integration.
PAGE 9 – Priming New Drywall
Sealing Before Paint

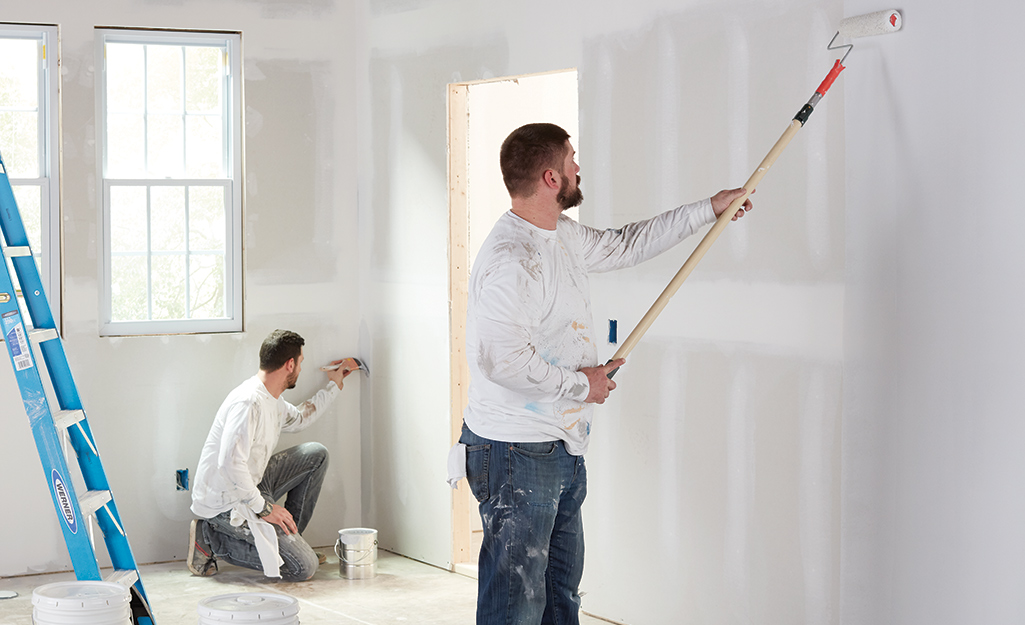

New drywall must be sealed.
Primer:
-
Seals porous surfaces
-
Prevents flashing
-
Ensures uniform paint absorption
Without primer, paint absorbs unevenly.
PAGE 10 – Paint-Ready Finish
Final Preparation Before Color


Before painting:
-
Surface inspected
-
Touch-ups completed
-
Dust removed completely
-
Corners and transitions verified
The result: a smooth, clean, paint-ready surface.
PAGE 11 – Cleanup & Site Organization
Respecting Your Space
:max_bytes(150000):strip_icc()/SPR-removing-full-nonload-bearing-interior-wall-1822875-step-08_53848-a9107c9a78e84a36b15212aab138ae8e.jpg)
All debris is removed.
-
Scraps bagged and disposed properly
-
Floors vacuumed
-
Work areas organized
We leave your property clean and ready for the next phase.
PAGE 12 – Final Walkthrough & Client Approval
Completion With Confidence