📘 7&7 Contractor LLC
Exterior Painting Process Guide
From Preparation to Final Walkthrough
PAGE 1 – Cover
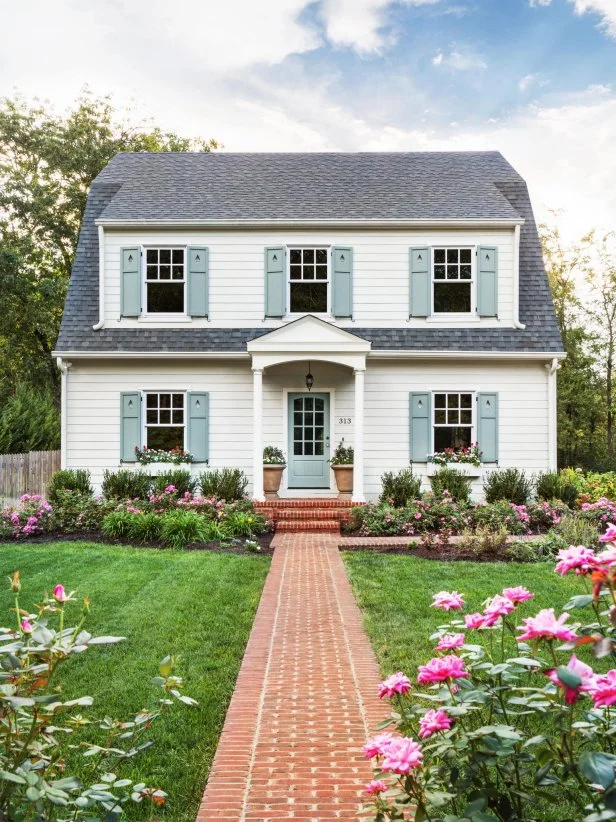
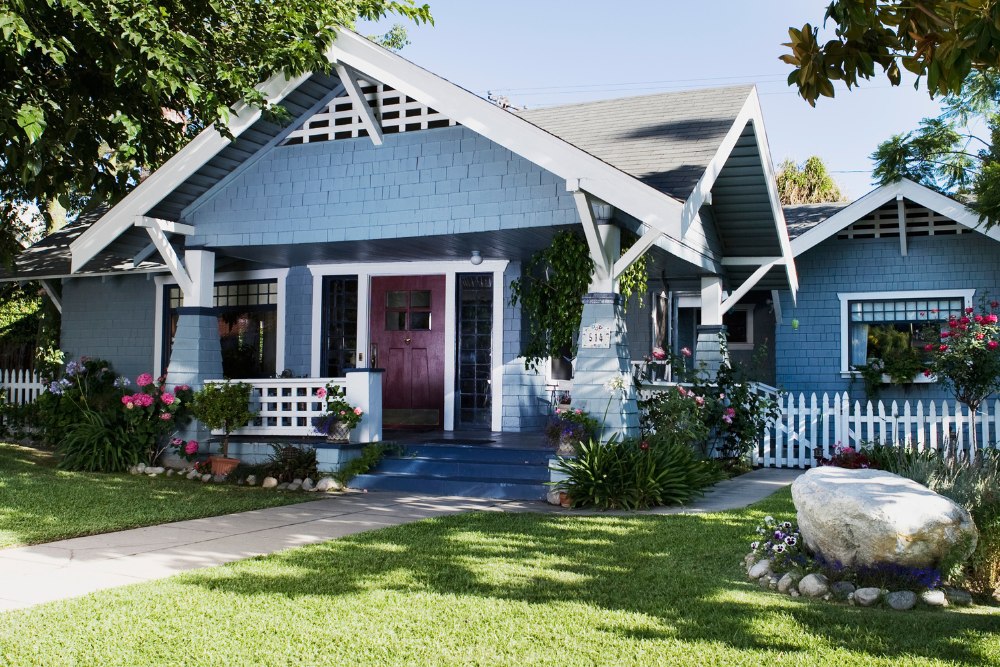
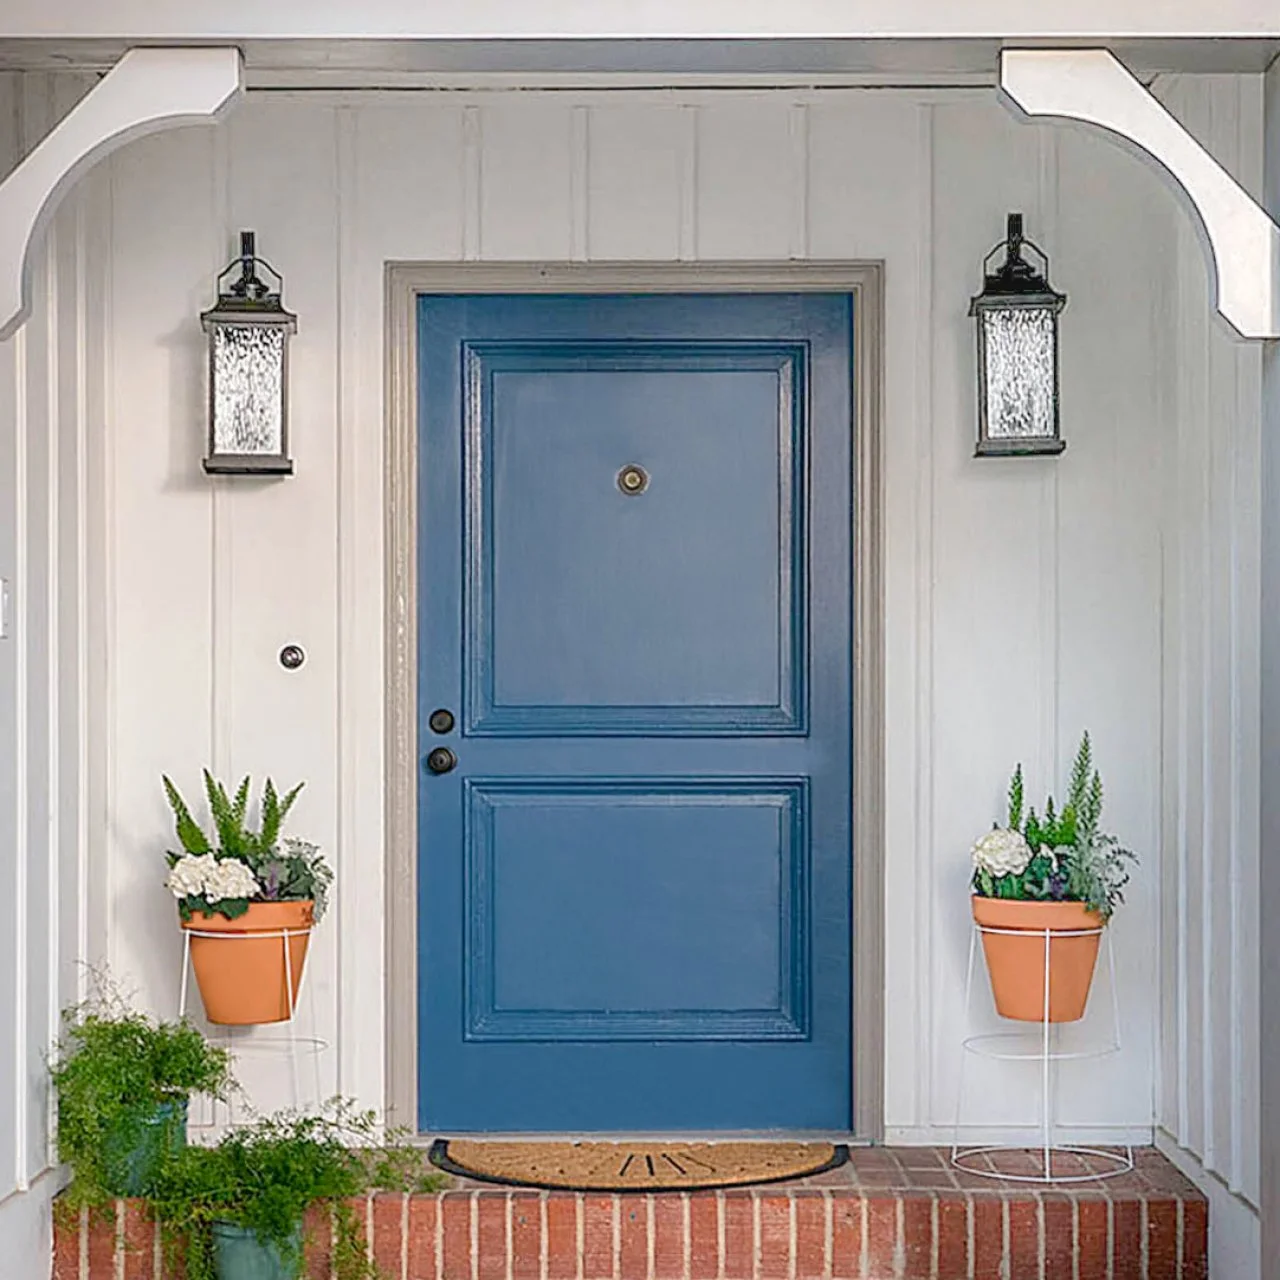
Exterior Painting Done the Right Way
:max_bytes(150000):strip_icc()/White-Painted-House-Exterior-483598945-56a4a0a45f9b58b7d0d7e44d.jpg)
Introduction
An exterior paint project is more than color — it is protection, preservation, and long-term value for your home.
This guide explains the complete professional process followed by 7&7 Contractor LLC, from the first preparation step to the final inspection.
No shortcuts. No guesswork. Just controlled, professional execution.
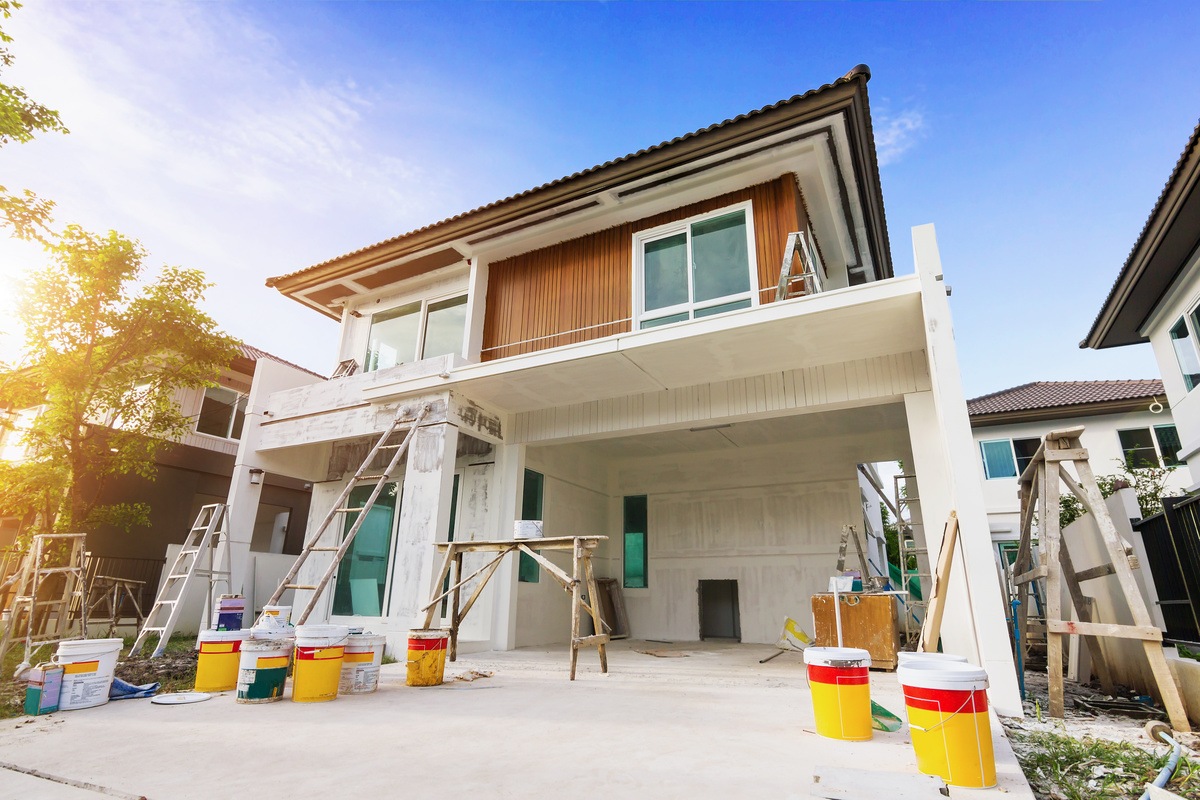
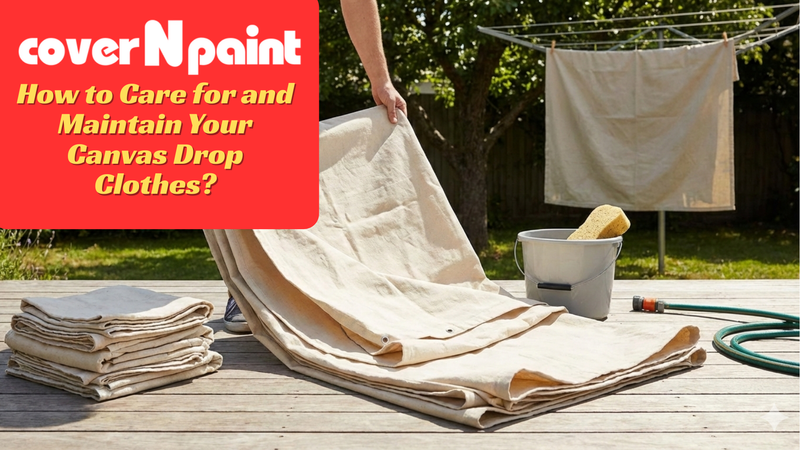
PAGE 2 – Property Protection & Site Preparation
Protection Comes First

Before work begins, we secure the property:
Step 1 – Protect Landscaping
-
Cover shrubs, flowers, and plants with breathable protective coverings
-
Move outdoor furniture away from work zones
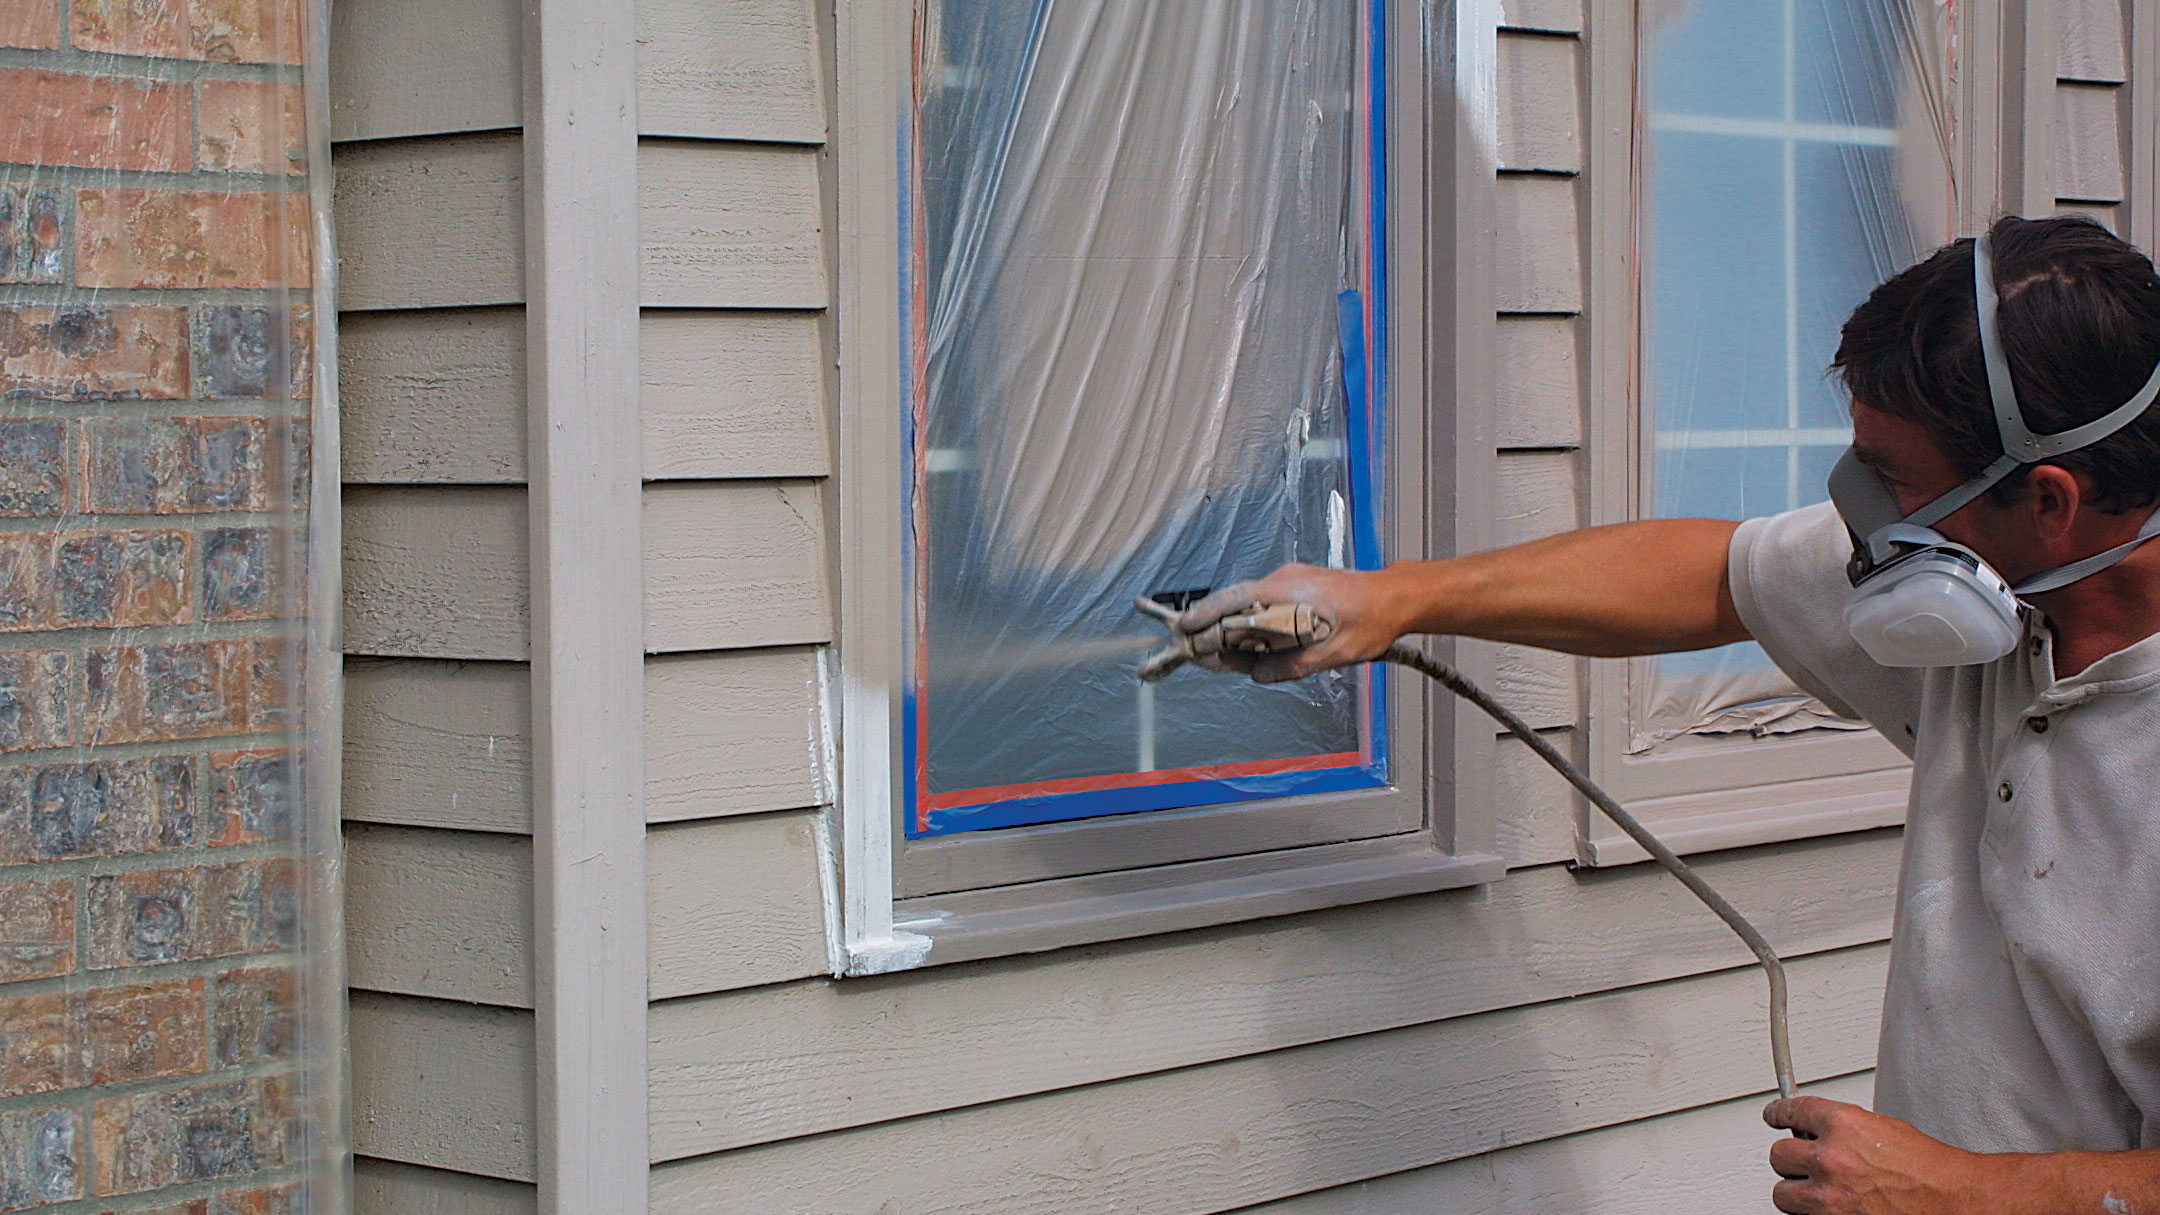
Step 2 – Mask Windows & Doors
-
Plastic sheeting applied securely
-
Tape applied carefully to avoid residue or damage
Step 3 – Protect Hard Surfaces
-
Driveways, decks, patios covered with drop cloths
-
Walkways kept accessible and clean
Why this matters:
Exterior overspray and debris can cause permanent damage if not controlled properly.
PAGE 3 – Exterior Inspection & Surface Assessment
Evaluating the Structure


We inspect:
-
Peeling or bubbling paint
-
Wood rot or soft trim
-
Cracks in siding
-
Nail pops or loose boards
-
Moisture-prone areas
Any structural issues are documented and addressed before painting.
Professional painting begins with diagnosis.
PAGE 4 – Power Washing & Surface Cleaning
Cleaning Before Coating


Proper cleaning ensures adhesion.
We remove:
-
Dirt
-
Mold and mildew
-
Loose paint
-
Chalky residue
Drying time is respected before proceeding.
Skipping this step leads to paint failure.
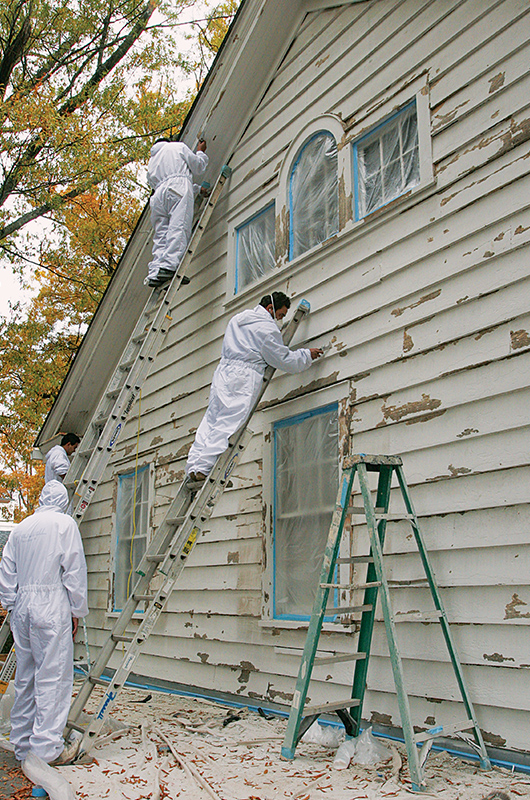
PAGE 5 – Scraping & Paint Removal
Removing Failing Paint


Loose or peeling paint is mechanically removed.
Edges are feathered smooth to prevent visible ridges.
This creates a clean bonding surface for primer.
PAGE 6 – Repairs & Wood Restoration
Correcting Damage Before Paint
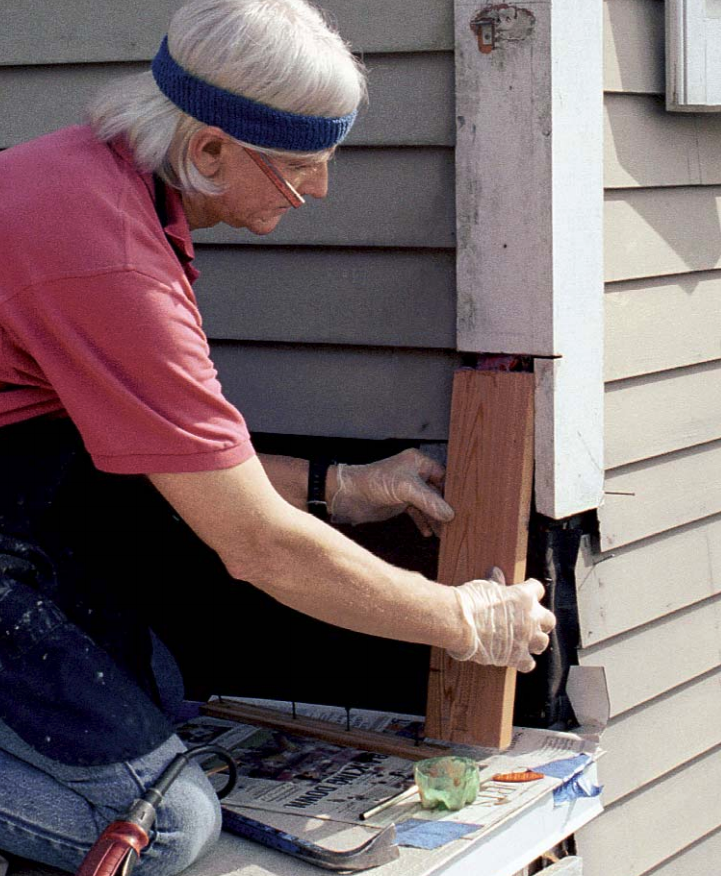


We repair:
-
Minor wood rot
-
Damaged trim
-
Small cracks
-
Caulking failures
High-quality exterior caulk is applied at joints to prevent water intrusion.
Paint does not fix wood rot — repairs do.
PAGE 7 – Sanding & Surface Smoothing
Preparing for Adhesion


Sanding smooths transitions and promotes adhesion.
Dust is brushed and cleaned before primer application.
PAGE 8 – Priming Exterior Surfaces
The Foundation of Durability


Primer seals bare wood and repairs.
It:
-
Blocks stains
-
Improves paint adhesion
-
Extends coating lifespan
Proper dry time is respected.
PAGE 9 – Professional Paint Application
Controlled, Even Coverage

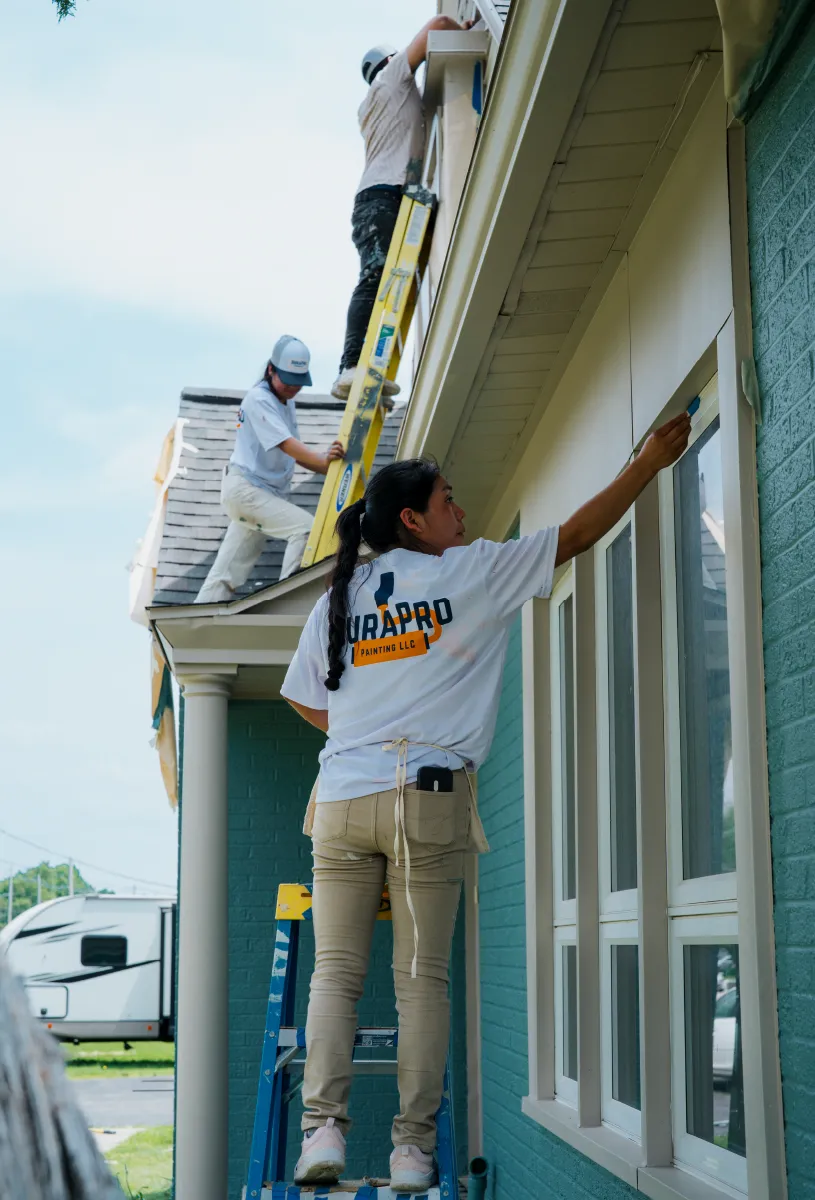
Paint is applied using:
-
Brush & roll
-
Spray & back-roll method when appropriate
Multiple coats are applied as required for uniform coverage.
Weather conditions are monitored to ensure proper curing.
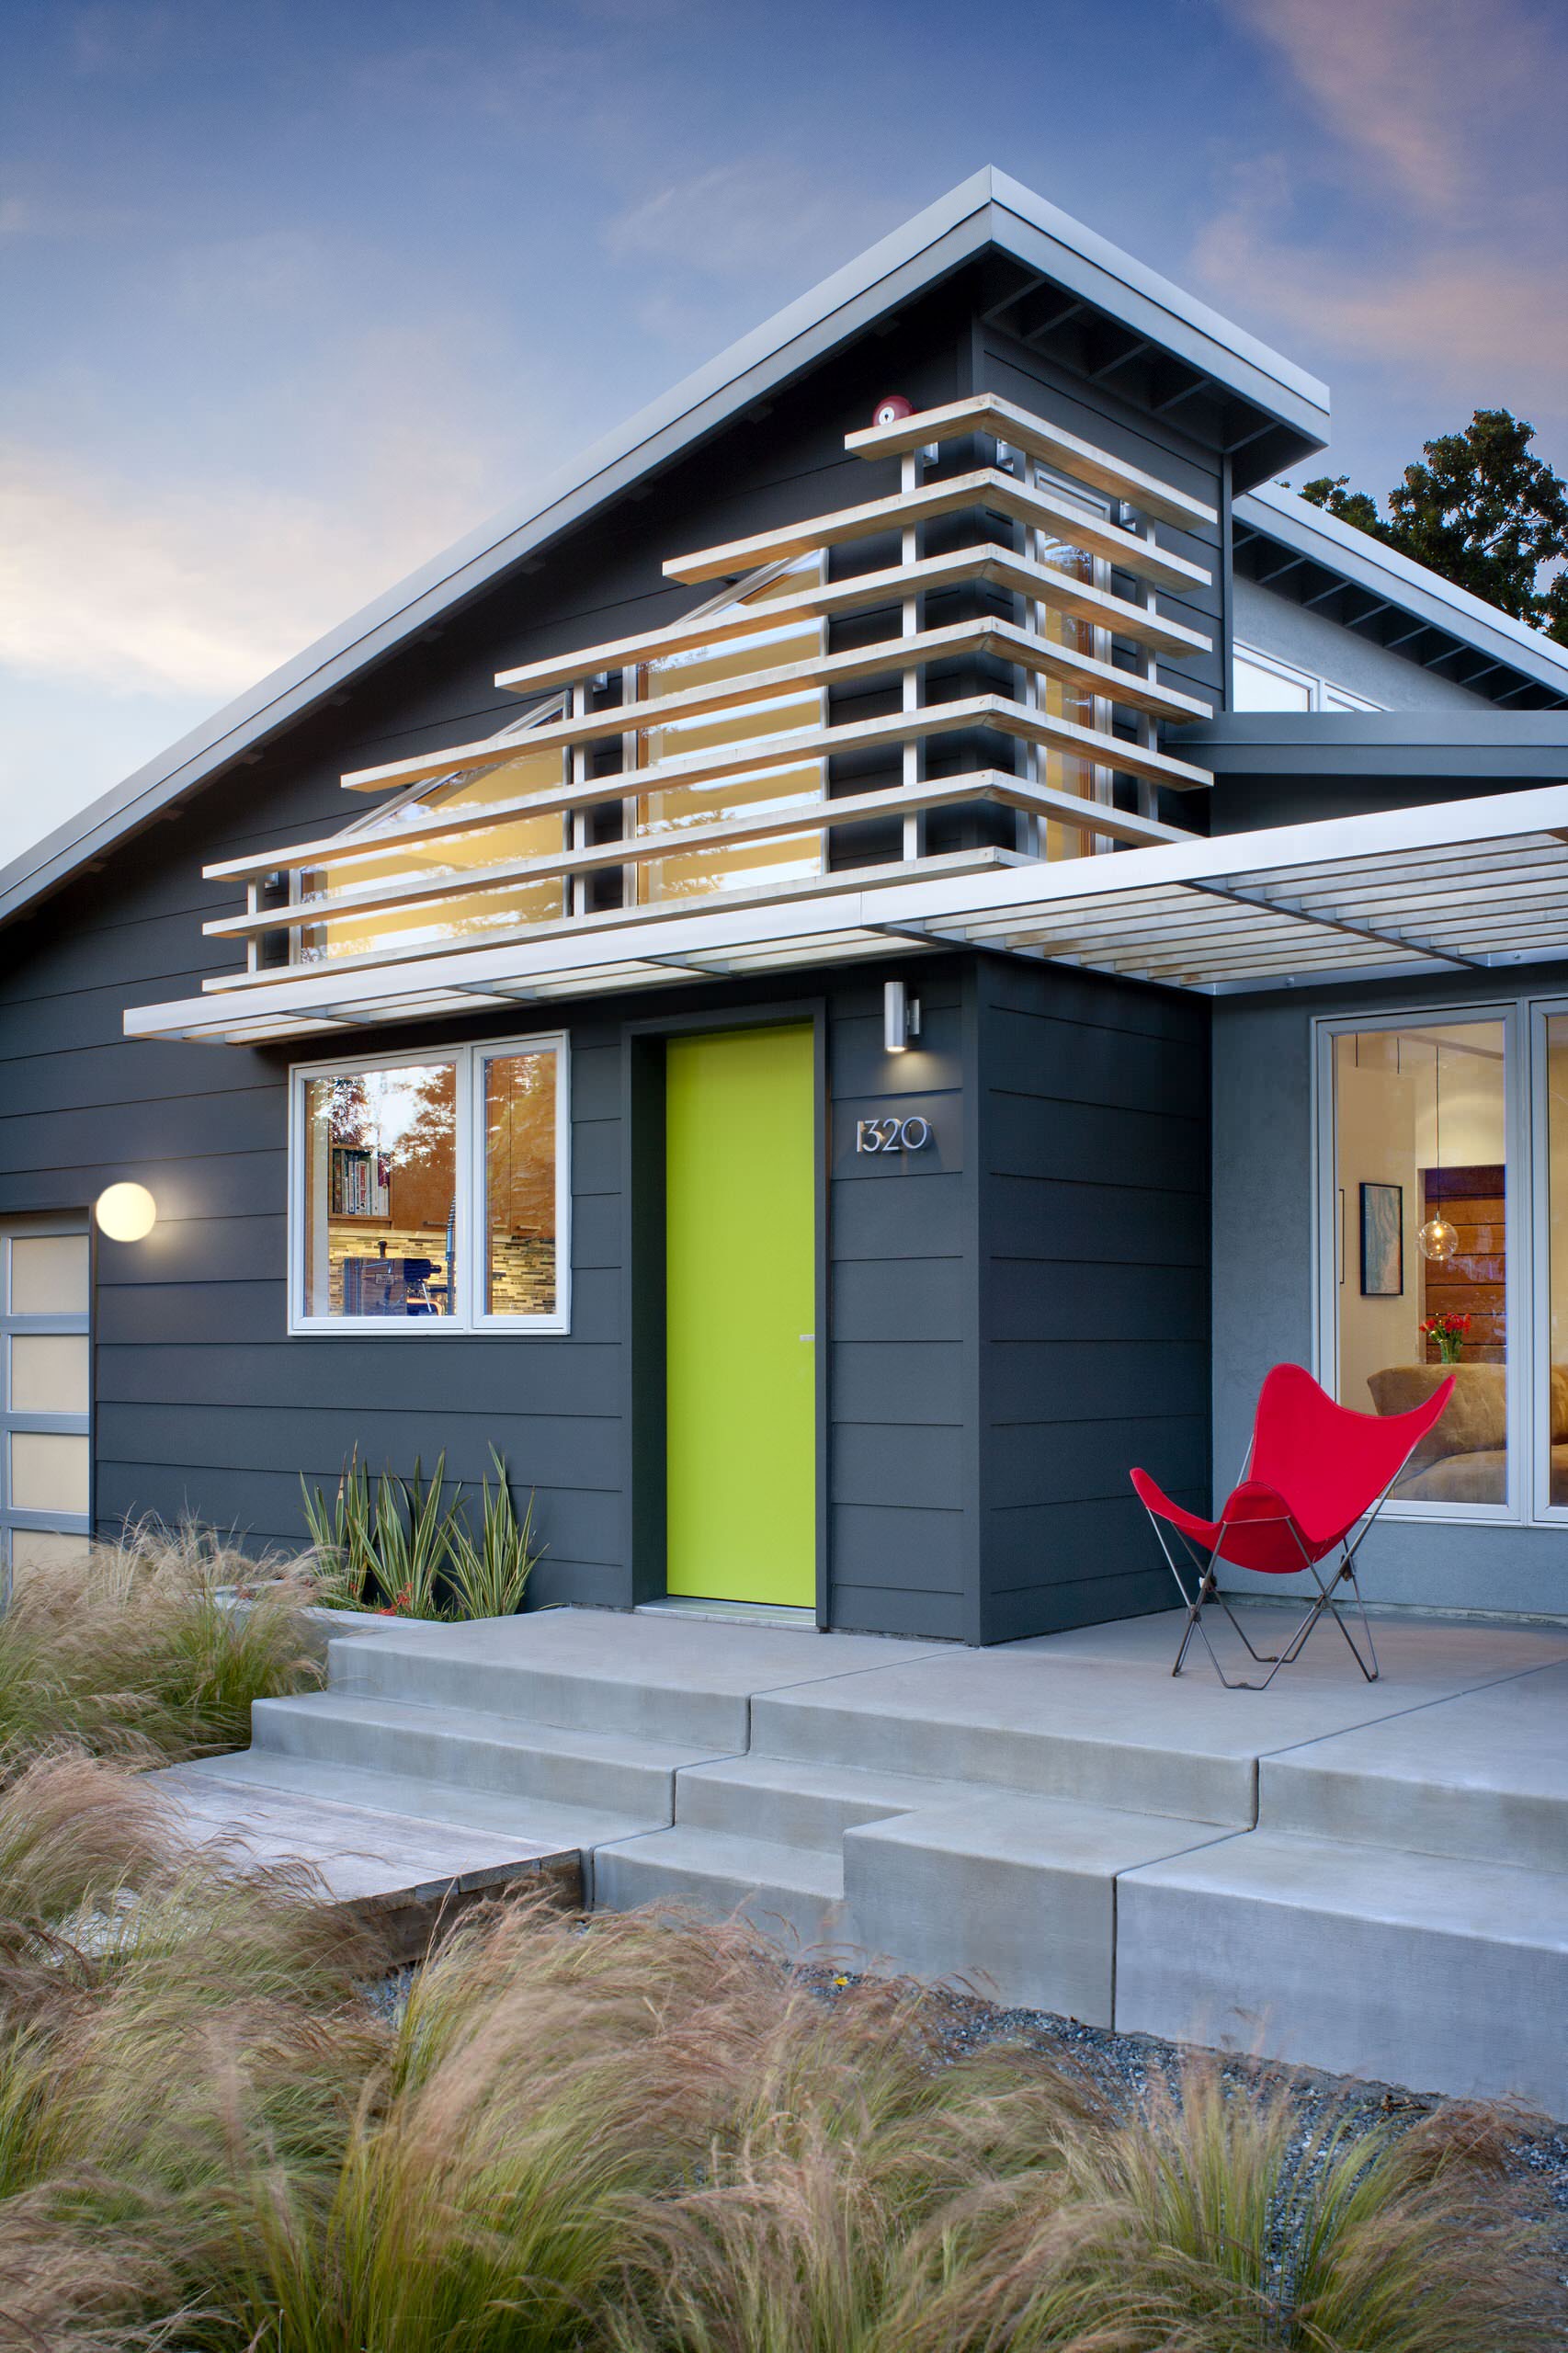
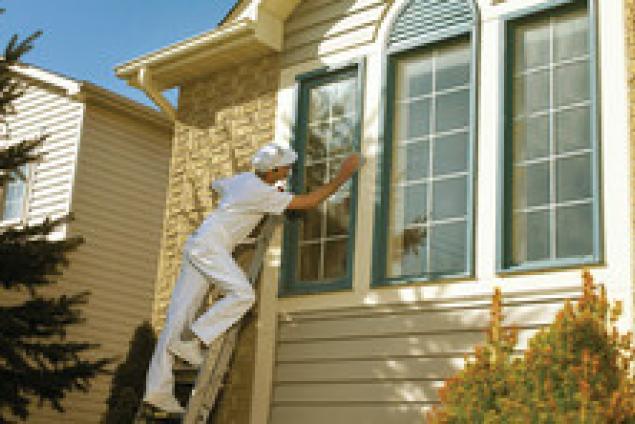
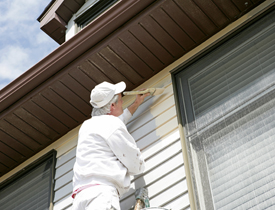
PAGE 10 – Detail Work & Trim Finishing
Precision Finishing
:max_bytes(150000):strip_icc()/image019-35c0db4901d2411aa3de302ec6212f55.jpeg)
Trim, doors, and accents are finished with precision.
Edges are sharp and lines are clean.
This is where craftsmanship becomes visible.
PAGE 11 – Cleanup & Site Restoration
Leaving the Property Clean

All masking materials are removed carefully.
Debris is collected and disposed of properly.
Landscaping is restored to original condition.
Your property is left clean and organized.
PAGE 12 – Final Walkthrough & Client Approval
Completion with Confidence